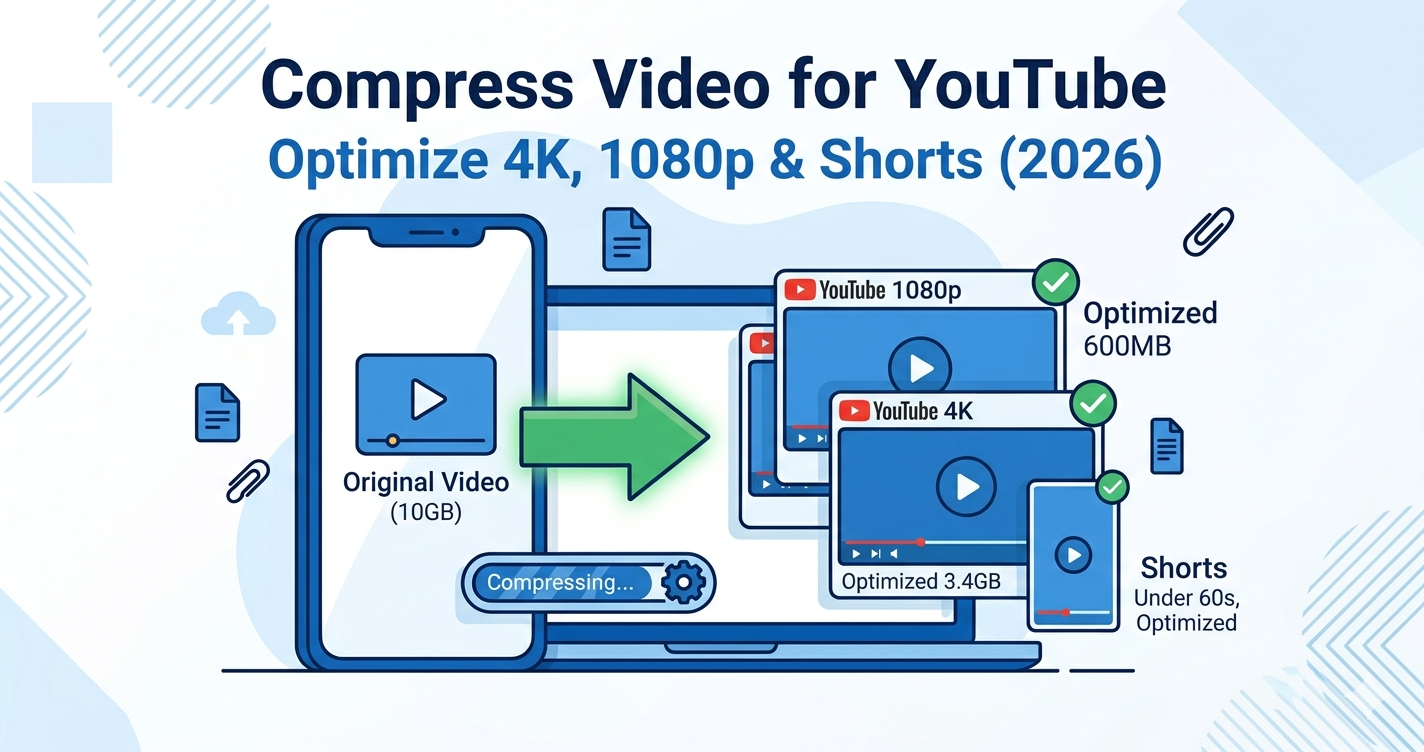
Uploading videos to YouTube taking forever? A 10-minute 4K video can be 5-10GB, taking hours to upload. Compressing your video before uploading reduces upload time by 70-90% while maintaining excellent quality.
Quick Answer
YouTube re-encodes all uploaded videos anyway, so uploading massive uncompressed files wastes time. Use Free Media Tools' video compressor to optimize your videos before upload. Reduce file size by 60-80%, cut upload time dramatically, and maintain quality that looks identical after YouTube's processing.
YouTube's Recommended Upload Settings (2026)
For 1080p Videos
| Setting | Recommended Value |
|---|---|
| Container | MP4 |
| Codec | H.264 |
| Resolution | 1920×1080 |
| Frame Rate | 24, 25, 30, or 60 fps |
| Bitrate | 8 Mbps (standard), 12 Mbps (high motion) |
| Audio Codec | AAC-LC |
| Audio Bitrate | 128-192 kbps |
For 4K Videos
| Setting | Recommended Value |
|---|---|
| Container | MP4 |
| Codec | H.264 or H.265 |
| Resolution | 3840×2160 |
| Frame Rate | 24, 25, 30, or 60 fps |
| Bitrate | 35-45 Mbps (standard), 53-68 Mbps (high motion) |
| Audio Codec | AAC-LC |
| Audio Bitrate | 192-256 kbps |
For YouTube Shorts
| Setting | Recommended Value |
|---|---|
| Container | MP4 |
| Codec | H.264 |
| Resolution | 1080×1920 (vertical) |
| Frame Rate | 30 or 60 fps |
| Bitrate | 8-12 Mbps |
| Duration | Under 60 seconds |
Why Compress Videos for YouTube?
1. Faster Upload Times
Uncompressed 10-minute 4K video:
- File size: 8GB
- Upload time: 2-4 hours (on average internet)
Compressed 10-minute 4K video:
- File size: 1.5GB (81% smaller)
- Upload time: 20-40 minutes (75% faster)
2. YouTube Re-encodes Anyway
YouTube processes all uploads and creates multiple quality versions (360p, 480p, 720p, 1080p, 4K). Your original quality above YouTube's bitrate recommendations is wasted.
3. Faster Processing
Smaller files process faster on YouTube's servers. Your video becomes available to viewers sooner.
4. Backup and Storage
Compressed videos take less space on your hard drive for backups.
How to Compress Video for YouTube (Step-by-Step)
Step 1: Check Your Video Specifications
Before compressing, know your current specs:
On Windows:
- Right-click video → Properties → Details
- Check resolution, bitrate, frame rate
On Mac:
- Right-click video → Get Info
- Or open in QuickTime → Window → Show Movie Inspector
What to look for:
- Resolution (1920×1080, 3840×2160, etc.)
- Bitrate (Mbps)
- Frame rate (fps)
- File size
Step 2: Determine Target Settings
If your video is:
- 1080p, 30fps → Target 8 Mbps bitrate
- 1080p, 60fps → Target 12 Mbps bitrate
- 4K, 30fps → Target 35-45 Mbps bitrate
- 4K, 60fps → Target 53-68 Mbps bitrate
Step 3: Compress Using Our Tool
- Go to freemediatools.online/compress-video-online
- Upload your video
- Select quality:
- High Quality for 4K videos
- Medium Quality for 1080p videos
- Custom if you know exact bitrate
- Click "Compress Video"
- Download optimized file
Step 4: Upload to YouTube
- Go to YouTube Studio
- Click "Create" → "Upload videos"
- Select your compressed video
- Add title, description, tags
- Upload
Pro tip: Upload during off-peak hours (late night) for faster processing.
Real-World Example: Gaming Channel Upload
I help a gaming YouTuber optimize his uploads. He records 4K 60fps gameplay, resulting in massive files.
Original recording: 15 minutes, 4K 60fps, 12GB
Goal: Reduce upload time without quality loss
What we did:
- Checked bitrate: 110 Mbps (way higher than YouTube's 68 Mbps recommendation)
- Compressed to 60 Mbps using our tool
- Result: 3.2GB file (73% smaller)
Upload time:
- Before: 3-4 hours
- After: 45 minutes
Quality: Identical after YouTube processing. YouTube's re-encoding means the extra bitrate was wasted anyway.
Comparison Table: File Sizes by Resolution
10-minute video at different resolutions and bitrates:
| Resolution | Frame Rate | Bitrate | File Size |
|---|---|---|---|
| 1080p | 30 fps | 8 Mbps | 600 MB |
| 1080p | 60 fps | 12 Mbps | 900 MB |
| 1440p (2K) | 30 fps | 16 Mbps | 1.2 GB |
| 1440p (2K) | 60 fps | 24 Mbps | 1.8 GB |
| 4K | 30 fps | 45 Mbps | 3.4 GB |
| 4K | 60 fps | 68 Mbps | 5.1 GB |
Note: These are YouTube's recommended bitrates. Higher bitrates don't improve quality after YouTube's processing.
What to Avoid: YouTube Compression Mistakes
1. Uploading Uncompressed or Lightly Compressed Videos
Raw footage from cameras can be 100+ Mbps bitrate. This is overkill for YouTube.
Solution: Compress to YouTube's recommended bitrates before uploading.
2. Over-Compressing
Using "Low Quality" settings makes videos look bad even after YouTube processing.
Solution: Use "High Quality" or "Medium Quality" settings. Match YouTube's recommended bitrates.
3. Wrong Aspect Ratio
Uploading 4:3 videos to YouTube adds black bars. Uploading horizontal videos as Shorts looks terrible.
Solution:
- Regular videos: 16:9 (1920×1080, 3840×2160)
- Shorts: 9:16 (1080×1920)
4. Variable Frame Rate (VFR)
VFR videos can cause audio sync issues on YouTube.
Solution: Convert to constant frame rate (CFR) before uploading. Our tool automatically handles this.
5. Not Optimizing Audio
High bitrate audio (320+ kbps) is unnecessary. YouTube uses 128-192 kbps for most videos.
Solution: Use 128-192 kbps AAC audio. Our tool optimizes audio automatically.
YouTube Shorts Optimization
Shorts-Specific Settings
Resolution: 1080×1920 (vertical, 9:16)
Duration: Under 60 seconds
Frame Rate: 30 or 60 fps
Bitrate: 8-12 Mbps
Format: MP4 (H.264)
Tips for Shorts
- Film vertically - Use phone in portrait mode
- Keep it under 60 seconds - Longer videos aren't Shorts
- Hook in first 3 seconds - Viewers scroll fast
- Add captions - Most watch without sound
- Optimize file size - Smaller files upload faster
Advanced: Custom Bitrate Settings
If you want precise control:
Using FFmpeg (Command Line)
# 1080p 30fps (8 Mbps)
ffmpeg -i input.mp4 -c:v libx264 -b:v 8M -c:a aac -b:a 128k output.mp4

# 4K 30fps (45 Mbps)
ffmpeg -i input.mp4 -c:v libx264 -b:v 45M -c:a aac -b:a 192k output.mp4

# 4K 60fps (68 Mbps)
ffmpeg -i input.mp4 -c:v libx264 -b:v 68M -c:a aac -b:a 192k output.mp4
Using HandBrake (Free Software)
- Download HandBrake (free)
- Open your video
- Set preset to "YouTube HQ 1080p" or "YouTube HQ 2160p"
- Adjust bitrate if needed
- Start encode
Frequently Asked Questions
Does YouTube compress uploaded videos?
Yes, YouTube re-encodes all uploaded videos to create multiple quality versions (360p, 480p, 720p, 1080p, 4K). This is why uploading uncompressed videos wastes time.
What's the best video format for YouTube?
MP4 with H.264 codec is the best format for YouTube. It offers excellent compression, universal compatibility, and fast processing.
Should I upload 4K to YouTube?
Yes, if you filmed in 4K. But compress to YouTube's recommended bitrate (35-68 Mbps) before uploading. Don't upload 100+ Mbps 4K files.
How long does YouTube take to process videos?
Processing time depends on file size and YouTube's server load:
- 1080p, 5 minutes: 5-15 minutes
- 1080p, 30 minutes: 15-45 minutes
- 4K, 10 minutes: 30-90 minutes
Smaller files process faster.
What bitrate should I use for YouTube?
- 1080p 30fps: 8 Mbps
- 1080p 60fps: 12 Mbps
- 4K 30fps: 35-45 Mbps
- 4K 60fps: 53-68 Mbps
Can I upload 60fps videos to YouTube?
Yes, YouTube supports 60fps. Use 12 Mbps for 1080p 60fps and 68 Mbps for 4K 60fps.
Why is my YouTube video blurry?
Common causes:
- Uploaded low-resolution video
- Over-compressed before upload
- YouTube still processing (wait for HD versions)
- Viewer watching in low quality (check quality settings)
How do I make my YouTube uploads faster?
- Compress videos to recommended bitrates
- Upload during off-peak hours (late night)
- Use wired internet instead of WiFi
- Close other apps using internet
- Upload in batches overnight
YouTube Upload Checklist
Before uploading:
- Video is MP4 format (H.264 codec)
- Resolution matches content (1080p or 4K)
- Bitrate matches YouTube recommendations
- Frame rate is constant (not variable)
- Aspect ratio is 16:9 (or 9:16 for Shorts)
- Audio is AAC, 128-192 kbps
- File size is reasonable (under 5GB for 10 min)
- Video has been compressed/optimized
Related Tools You Might Need
-
Video Trimmer — Cut intros, outros, or mistakes before uploading to YouTube.
-
Video Converter — Convert videos to MP4 (H.264) format for optimal YouTube compatibility.
-
Compress for Instagram — Optimize videos for Instagram Reels and Stories.
Why Compress Before YouTube Upload?
Many creators ask: "Why compress if YouTube re-encodes anyway?"
Here's why:
- Time savings - Upload 75% faster
- Bandwidth savings - Use less internet data
- Faster processing - Video available to viewers sooner
- Storage savings - Smaller backup files
- No quality loss - YouTube's re-encoding means extra bitrate is wasted
Bottom line: Compressing to YouTube's recommended settings saves time without sacrificing quality.
By Muhammad Hasnain Adam — Full-stack developer and creator of Free Media Tools. I built this platform to help YouTubers and content creators optimize their workflow, saving hours of upload time without compromising video quality.