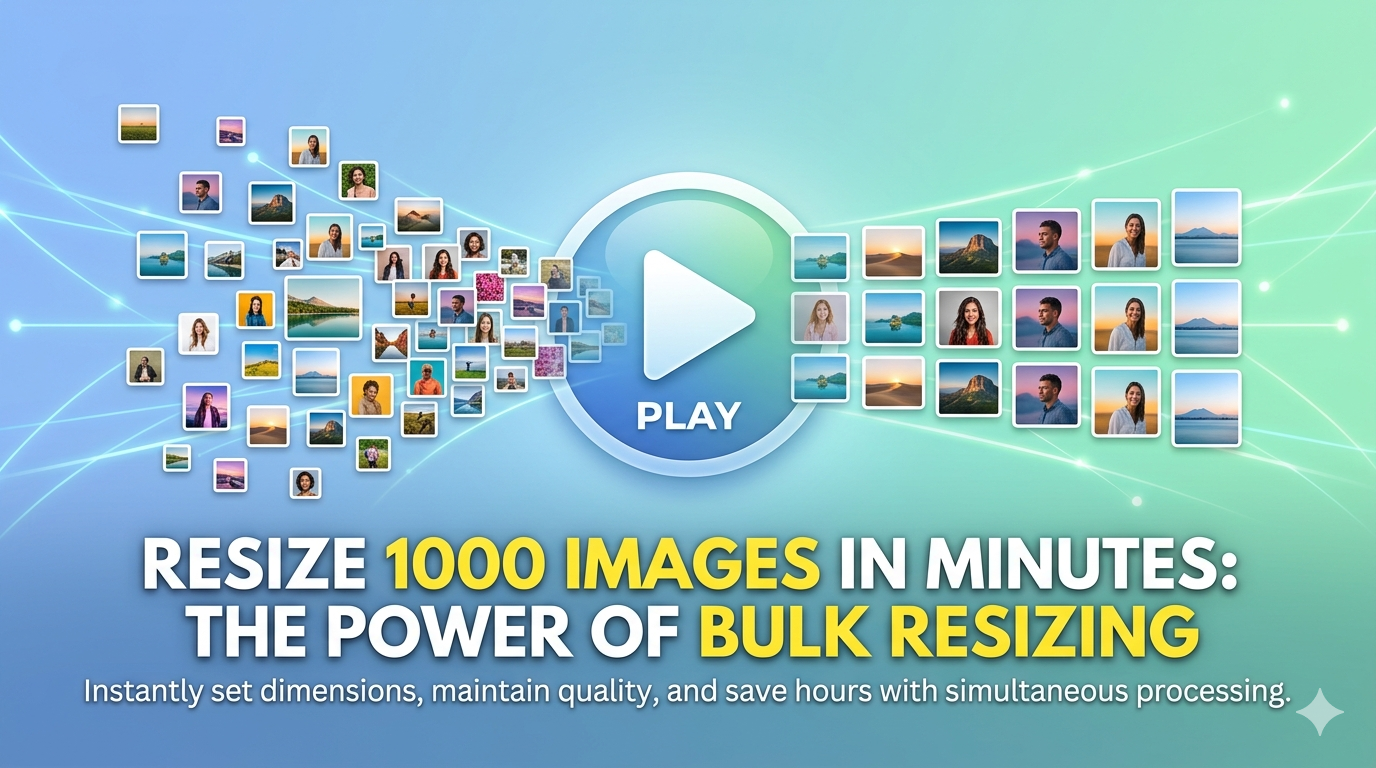
Need to resize 50, 100, or even 1000 images? Doing it one by one would take hours. Bulk image resizing lets you resize multiple images simultaneously, saving massive amounts of time.
Quick Answer
The fastest way to resize images in bulk is using Free Media Tools' image resizer. Upload multiple images, set your desired dimensions, and download all resized images at once. It's free, works in your browser, and requires no software installation.
Why Bulk Resize Images?
Common Use Cases
- E-commerce: Resize product photos to consistent dimensions
- Web design: Optimize images for faster page loads
- Social media: Prepare images for Instagram, Facebook, LinkedIn
- Photography: Create thumbnails or web-sized versions
- Real estate: Resize property photos for listings
- Blogging: Optimize images for blog posts
Time Savings
Resizing 100 images:
- Manual (one by one): 2-3 hours
- Bulk resizing: 5-10 minutes
That's a 95% time savings!
Method 1: Free Online Bulk Resizer (Recommended)
Best For
- Quick one-time jobs
- No software installation
- Any device (Windows, Mac, mobile)
How to Use Free Media Tools
- Go to freemediatools.online/resize-image
- Upload multiple images (drag and drop or click to select)
- Set dimensions (width × height) or percentage
- Choose resize mode:
- Exact: Resize to exact dimensions (may distort)
- Fit: Fit within dimensions (maintains aspect ratio)
- Fill: Fill dimensions (crops if needed)
- Click "Resize Images"
- Download all resized images as a ZIP file
Pros
- No installation required
- Works on any device
- Free and unlimited
- Privacy-focused (images processed in browser)
- Supports all common formats (JPEG, PNG, WebP, GIF)
Cons
- Requires internet connection
- Limited to browser capabilities
Method 2: Desktop Software
For Windows: IrfanView (Free)
Best for: Windows users who resize images frequently
How to use:
- Download IrfanView (free)
- Go to File → Batch Conversion/Rename
- Add your images
- Set "Batch conversion" settings
- Click "Advanced" and set resize dimensions
- Click "Start Batch"
Pros:
- Very fast
- Powerful batch processing
- Free
Cons:
- Windows only
- Steeper learning curve
For Mac: Preview (Built-in)
Best for: Mac users with small batches
How to use:
- Select all images in Finder
- Right-click → Open With → Preview
- Select all thumbnails (Cmd+A)
- Tools → Adjust Size
- Set new dimensions
- File → Export
Pros:
- Built into macOS
- Simple interface
- Free
Cons:
- Slower for large batches
- Limited options
Cross-Platform: GIMP (Free)
Best for: Advanced users who need precise control
How to use:
- Download GIMP (free)
- Install BIMP plugin (Batch Image Manipulation Plugin)
- Filters → Batch Image Manipulation
- Add images
- Add "Resize" manipulation
- Set dimensions and run
Pros:
- Powerful and free
- Works on Windows, Mac, Linux
- Highly customizable
Cons:
- Complex interface
- Requires plugin installation
Method 3: Command Line (For Developers)
Using ImageMagick
Best for: Developers, automation, very large batches
Installation:
# Mac
brew install imagemagick

# Ubuntu/Debian
sudo apt-get install imagemagick

# Windows
# Download from imagemagick.org
Resize all images in a folder:
# Resize to 800px width (maintains aspect ratio)
mogrify -resize 800x *.jpg

# Resize to exact dimensions
mogrify -resize 800x600! *.jpg

# Resize and save to different folder
mkdir resized
mogrify -path resized -resize 800x *.jpg
Pros:
- Extremely fast
- Scriptable and automatable
- Handles thousands of images
- Free and open source
Cons:
- Requires command-line knowledge
- Installation required
- Not user-friendly for beginners
Using Python (PIL/Pillow)
Best for: Automation, integration with other scripts
from PIL import Image
import os

# Resize all images in folder
input_folder = "original"
output_folder = "resized"
target_size = (800, 600)

for filename in os.listdir(input_folder):
    if filename.endswith(('.jpg', '.png', '.jpeg')):
        img = Image.open(os.path.join(input_folder, filename))
        img_resized = img.resize(target_size, Image.LANCZOS)
        img_resized.save(os.path.join(output_folder, filename))
Pros:
- Fully customizable
- Can integrate with other processes
- Free
Cons:
- Requires Python knowledge
- Setup required
Method 4: Photoshop Actions
Best For
- Professional photographers
- Users who already have Photoshop
- Complex batch operations
How to Use
- Open Photoshop
- Window → Actions
- Create new action
- Record: Image → Image Size → Set dimensions
- Stop recording
- File → Automate → Batch
- Select your action and folder
- Run
Pros
- Professional-grade quality
- Can combine with other edits
- Very powerful
Cons
- Requires Photoshop subscription ($10-55/month)
- Overkill for simple resizing
- Steeper learning curve
Method 5: Mobile Apps
For iOS: Image Size (Free)
How to use:
- Download "Image Size" app
- Select multiple photos
- Set dimensions
- Export all
For Android: Photo Resizer (Free)
How to use:
- Download "Photo & Picture Resizer"
- Select images
- Choose preset or custom size
- Batch resize
Pros
- Convenient for mobile photos
- Free options available
Cons
- Slower than desktop methods
- Limited by phone storage/processing
Choosing the Right Resize Dimensions
For Web Use
Blog posts:
- Featured image: 1200×630 (Facebook/Twitter optimal)
- In-content images: 800×600 or 1000×750
- Thumbnails: 300×200
E-commerce:
- Product main image: 1500×1500 (allows zoom)
- Gallery images: 800×800
- Thumbnails: 300×300
Social media:
- Instagram post: 1080×1080 (square) or 1080×1350 (portrait)
- Facebook post: 1200×630
- LinkedIn post: 1200×627
- Twitter post: 1200×675
For Print
- 300 DPI for high-quality prints
- Calculate: (desired inches) × 300 = pixels
- Example: 8×10 inch print = 2400×3000 pixels
Maintaining Aspect Ratio
Always maintain aspect ratio unless you specifically need exact dimensions. Distorted images look unprofessional.
Common aspect ratios:
- 16:9 (widescreen): 1920×1080, 1280×720
- 4:3 (standard): 1024×768, 800×600
- 1:1 (square): 1000×1000, 500×500
- 4:5 (portrait): 1080×1350
Best Practices for Bulk Resizing
1. Always Keep Originals
Never overwrite your original images. Save resized versions to a different folder.
2. Resize Down, Not Up
Enlarging images reduces quality. Always resize from larger to smaller.
3. Choose the Right Format
- JPEG: Photos, complex images
- PNG: Graphics, logos, images with transparency
- WebP: Best compression, modern format
4. Compress After Resizing
Resizing reduces file size, but compressing reduces it further. Use our image compressor after resizing.
5. Use Consistent Naming
Rename files consistently for better organization:
- product-name-800x600.jpg
- thumbnail-product-name.jpg
6. Test One Image First
Before batch processing 1000 images, test with one to ensure settings are correct.
Common Bulk Resizing Mistakes
Mistake 1: Not Maintaining Aspect Ratio
Stretching or squashing images looks unprofessional. Always maintain aspect ratio unless you have a specific reason not to.
Mistake 2: Resizing Up
Enlarging images doesn't add detail—it just makes them blurry. Always work from high-resolution originals.
Mistake 3: Over-Compressing
Resizing reduces file size, but over-compressing reduces quality. Find the right balance.
Mistake 4: Wrong Format
Don't save photos as PNG (too large) or logos as JPEG (loses quality). Choose the right format for each image type.
Mistake 5: Forgetting Mobile
If images are for web use, test how they look on mobile devices. Mobile users are 60% of web traffic.
Automation Tips
For Regular Bulk Resizing
If you resize images regularly, automate the process:
Option 1: Folder Watch Script Set up a script that automatically resizes any image added to a specific folder.
Option 2: Keyboard Shortcut Create a keyboard shortcut that runs your resize command/script.
Option 3: Cloud Automation Use services like Zapier or IFTTT to automatically resize images uploaded to cloud storage.
Frequently Asked Questions
Can I resize images without losing quality?
Resizing down maintains quality well. Resizing up always reduces quality. Use high-quality originals and resize down for best results.
What's the best format for resized images?
For photos: JPEG or WebP. For graphics/logos: PNG or WebP. WebP offers the best compression but isn't supported by all platforms.
How many images can I resize at once?
Our online tool handles hundreds of images. Desktop software and command-line tools can handle thousands.
Should I resize before or after compressing?
Resize first, then compress. This gives you the best file size reduction.
Can I resize images on my phone?
Yes, mobile apps like "Image Size" (iOS) and "Photo Resizer" (Android) work well for smaller batches.
What's the fastest way to resize 1000+ images?
Command-line tools like ImageMagick are fastest for very large batches. For most users, our online tool or desktop software is sufficient.
Related Tools
- Compress images - Reduce file size after resizing
- Convert images - Change format (JPEG, PNG, WebP)
- Crop images - Crop to specific aspect ratio
Conclusion
Bulk image resizing doesn't have to be complicated. For most users, our free online image resizer is the fastest and easiest solution. Upload multiple images, set your dimensions, and download all resized images in minutes.
Stop wasting hours resizing images one by one. Start bulk resizing today.
Real-World Example: E-commerce Product Photos
A client came to me with 347 product photos from their supplier. All were different sizes (ranging from 2000×1500 to 5000×4000), and they needed them all at 1200×1200 for their Shopify store.
Manual approach: 5-6 hours of work
Bulk resize approach: 8 minutes
What I did:
- Uploaded all 347 images to our bulk resizer
- Set dimensions to 1200×1200 (square, fit mode to maintain aspect ratio)
- Downloaded ZIP file with all resized images
- Uploaded to Shopify
Result: Saved 5+ hours, consistent image sizes across the entire store, faster page loads.
Comparison Table: Bulk Resizing Methods
| Method | Speed | Ease of Use | Cost | Best For |
|---|---|---|---|---|
| Online Tool | ⭐⭐⭐⭐ | ⭐⭐⭐⭐⭐ | Free | Most users, quick jobs |
| Desktop Software | ⭐⭐⭐⭐⭐ | ⭐⭐⭐ | Free-$$ | Frequent use, offline |
| Command Line | ⭐⭐⭐⭐⭐ | ⭐⭐ | Free | Developers, automation |
| Photoshop | ⭐⭐⭐ | ⭐⭐ | $$$ | Professionals, complex edits |
| Mobile Apps | ⭐⭐ | ⭐⭐⭐⭐ | Free-$ | Mobile photos, small batches |
What to Avoid: Bulk Resizing Mistakes
1. Overwriting Original Files
Never resize images in place. Always save to a new folder.
Solution: Create a "resized" folder and save all output there. Keep originals untouched.
2. Resizing Up (Enlarging)
Enlarging images doesn't add detail—it just makes them blurry and pixelated.
Solution: Always resize down from high-resolution originals. If you need larger images, reshoot or find higher-resolution sources.
3. Not Testing First
Resizing 1000 images with wrong settings means redoing all 1000.
Solution: Test with 2-3 images first. Verify dimensions, quality, and file size before batch processing all images.
4. Ignoring Aspect Ratio
Forcing images into dimensions that don't match their aspect ratio creates distortion.
Solution: Use "fit" mode to maintain aspect ratio, or crop first to the desired aspect ratio, then resize.
5. Wrong File Format
Saving photos as PNG creates huge files. Saving logos as JPEG loses quality.
Solution:
- Photos → JPEG or WebP
- Logos/graphics → PNG or WebP
- Web images → WebP (best compression)
Frequently Asked Questions (Expanded)
How many images can I resize at once?
Our online tool handles hundreds of images. Desktop software and command-line tools can handle thousands. For very large batches (10,000+), use command-line tools like ImageMagick.
Will bulk resizing reduce image quality?
Resizing down maintains quality well. Use high-quality settings (our tool uses optimal settings) to minimize any quality loss.
Can I resize images to different dimensions?
Most bulk tools resize all images to the same dimensions. If you need different dimensions for each image, you'll need to process them in separate batches or use scripting.
What's the best dimension for web images?
- Blog featured images: 1200×630
- Product photos: 1200×1200 or 1500×1500
- Thumbnails: 300×300
- Full-width banners: 1920×600
Should I resize before or after compressing?
Resize first, then compress. This gives you the best file size reduction.
Can I automate bulk resizing?
Yes! Use command-line tools (ImageMagick) with folder watch scripts, or cloud automation services like Zapier to automatically resize images when uploaded.
Related Tools You Might Need
-
Image Compressor — After resizing, compress images to reduce file size by another 60-80% without visible quality loss.
-
Image Converter — Convert resized images to WebP format for 25-35% smaller file sizes.
-
Image Cropper — Crop images to specific aspect ratios before resizing for perfect composition.
By Muhammad Hasnain Adam — Full-stack developer from Karachi, Pakistan. I built Free Media Tools to help people save time on repetitive tasks like bulk image resizing, without expensive software or technical knowledge.